9 Expert Garden Hacks That Will Kick-Start Your Transplanting Success
Practice makes perfect!
The bright sunshine and warm overnight temperatures have finally arrived and it is time to get the veggies garden rolling. If you are like me, you have trays of beautiful plants ready to make the leap to the garden. Or, also like me, you’ve just gone to the garden center and bought 3 more trays of plants you just couldn’t live without!
But not quite so fast! Nothing can ruin your day more than going out to check your newly planted gardening and finding half of the plants dead or gone! It’s easy to avoid transplanting disappointments if you know how.
Whether you are moving your store-bought starts out or the ones you did yourself, these expert garden hacks will kick-start your transplanting success and give you the smoothest transition ever. See which ones help you the most.
1. Do the shuffle
As much as you are tempted to just take your starts outside and get them in the ground. STOP! Plants that have been grown in the house, and often even in nursery center greenhouses, will shock if you just move them directly out into the hot sun of your garden.
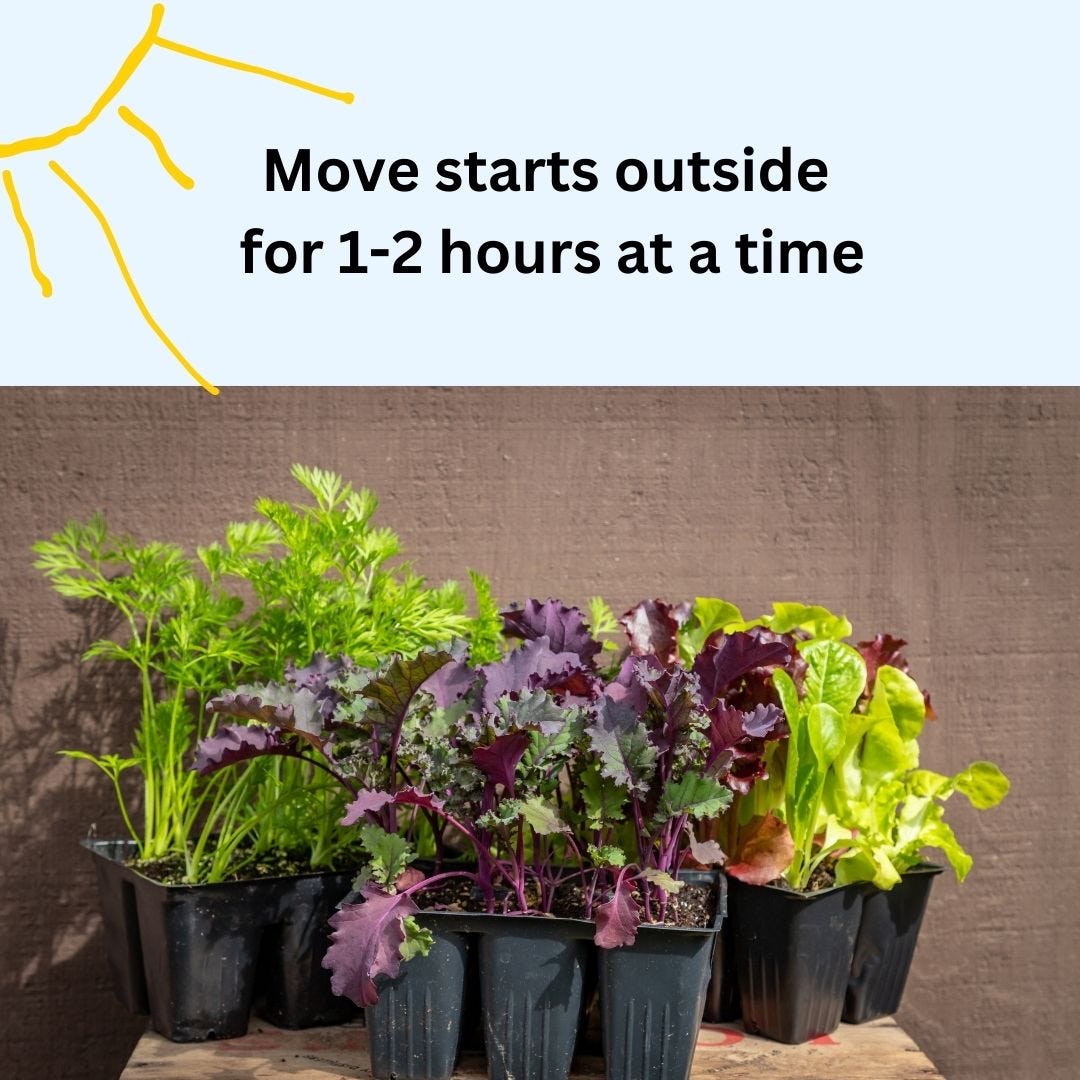
Instead give your plants one or two days of partial sun first before making the leap into their new big-plant beds.
This process is called “hardening off” by gardeners and I always found this term confusing as a beginner. But the process is actually very simple. Just put your trays of starts out into some bright morning sun for one to two hours, and then move them into the shade. The second day, give them three to four hours of sun. Often two days is enough, but three days of transitioning does not hurt one bit.
Then plant them out as you normally would. Because here’s the thing. If you plant them out into full sun too fast, you may end up with scorched leaves or worse the plant might “shock”. In either scenario, the result is that the plant stops growing for a period of time. This can add one to three weeks to the time before you are going to see harvestable food. . . . so a little shuffling can go a long way to getting food on your table faster.

2. A little shade please
If you can’t easily shuffle your starts around, then plant them into the garden, but set up a shade barrier for the first two days. Just like in #1, allow your transplants to have only one or two hours of direct sun the first day and increase that in the second and third days.
What can you use for shade? Anything really. I have used cardboard boxes, row covers, dark fabric umbrellas, large objects, and fabric held up on hoops or stakes to create shade for tender new transplants. The goal here is to give those tender leaves a chance to adapt to the much brighter and hotter sunshine without shocking them. The less transplant shock that happens, the faster your garden plants will get down to the business of making food.
3. Stick it to cutworms
Years ago I was reading an old gardening book that talked about using “penny nails” as a way to prevent cutworm damage.
Cutworms are actually caterpillars from moths in the Noctuid family of insects. These caterpillars hide just below the soil surface during the day, and at night they roam about and chew through the stems of young vegetables. The telltale sign of cutworm damage is seedlings chopped off and lying on the ground, or with no tops at all.
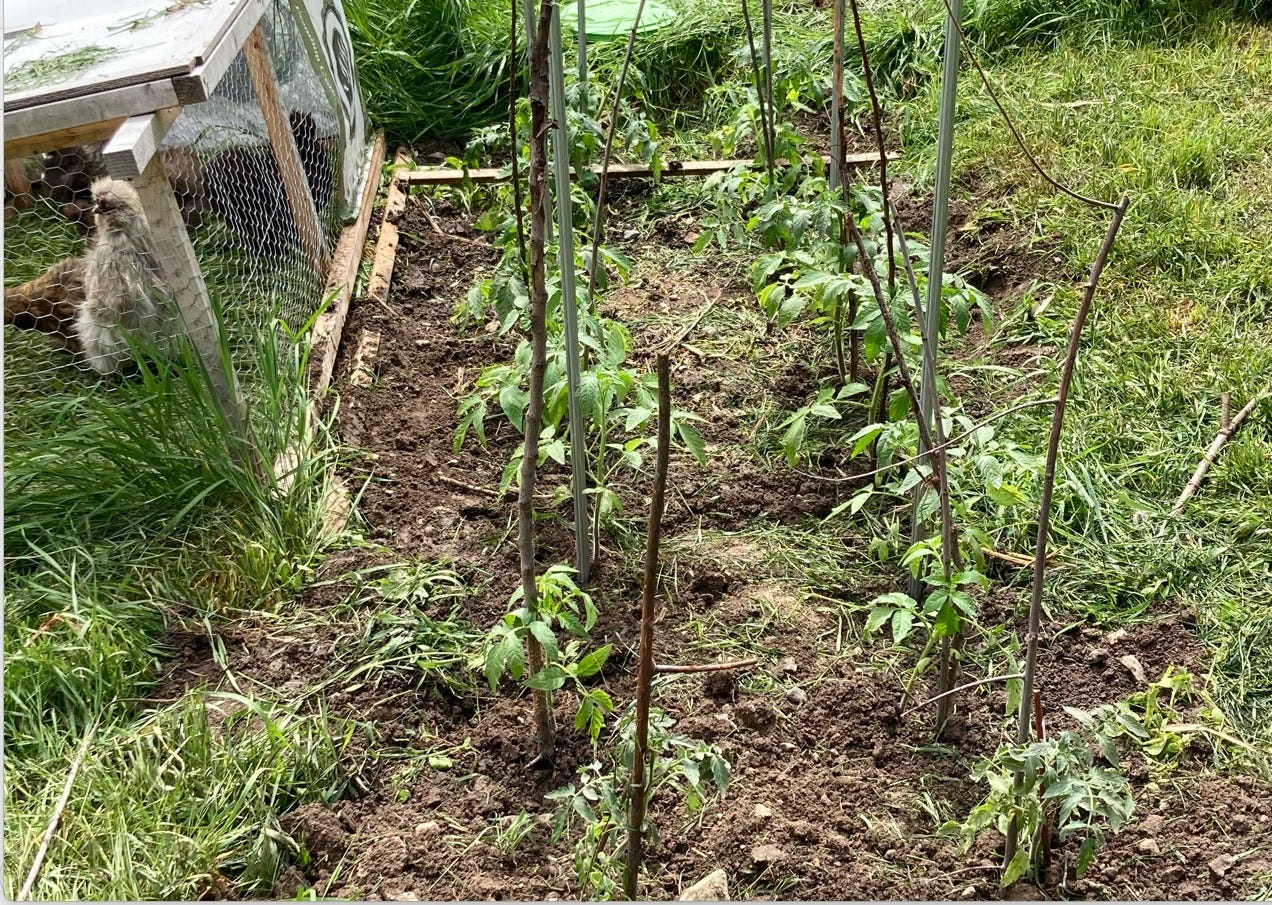
One of the key behaviors of cutworms is that they like wrap around the stem of young plants in order to chew them. So when you place a penny nail down along the stem of your transplanted vegetable (like broccoli or tomatoes), the cutworm wraps around the stem but it encounters the hard nail and thinks the stem is too tough. The cutworm moves on and doesn’t destroy your seedling.
Now I don’t know about you, but nails in the garden is a BIG no-no for me. That probably has to do with the time I stepped back onto a board and ended up with a 3” nail jammed through the bottom of my foot!
But luckily it isn’t the nail that is key – it is just something hard. I use the prunings from my fruit trees to make mini-stakes for my transplants. Here are the steps:
Make your planting hole as always.
Push the wood stick into the hole. Again the material doesn’t matter - drinking straws, chopsticks, popsicle sticks, etc. all work too.
Line up your transplant so that the stem rests closely against your stick.
Cover in the hole to secure the stick and stem close together and you are good to go. Sometimes if the transplant flops away from the stick, I might use a second stick to push the stem back and hold the plant in place
This little cutworm trick has worked for me almost without fail. And it is so much easier than fussing with cutworm collars and other methods that I still see recommended elsewhere.

4. Crush those buggers
While the cutworm sticks help prevent damage to your seedlings, you can go one step further to reduce insect damage by adding crushed eggs shells.
This one is easy too. Just save up your eggshells from breakfast for a week and let them air dry. Then use your hands to coarsely crush up the shells and sprinkle them around your transplants.
Not only do the sharp shells make the going tough for soft bodied insects, slugs and snails but you are also adding calcium to your soil. The more nutrient rich your garden soil becomes, the more nutrient rich your harvest will be. Win-win.
5. Folded to perfection
Peat pots, and even recycled paper or toilet roll pots, are a convenient way to start your own seedlings. Just fill in the pot, wait for your plant to grow, and then plant the whole thing straight in the garden without upsetting those new little roots.
Great! Except if you leave the edges sticking up through the soil, you may be in for a nasty surprise.
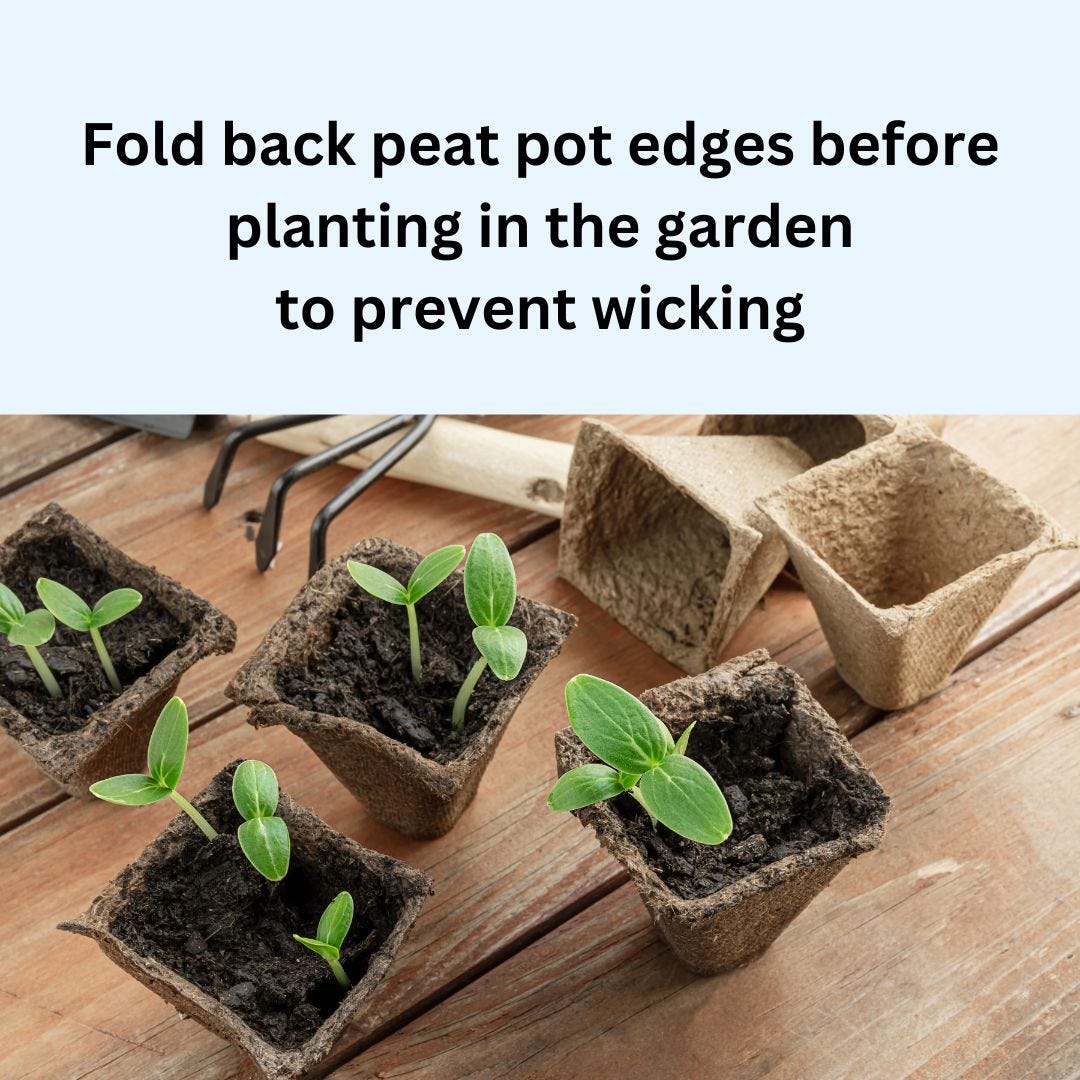
Peat, cardboard and paper all have the ability to wick water. So if you leave the edges of these compostable pots sticking up around your transplant then you might end up with a weak plant instead of a winner. Those edges will get hot in the sun and start wicking water away from your plant roots. Unless the plant is super-fast growing, it may not be able to penetrate the dry edge of these pots. The result is that you end up with a stunted plant because the root ball is trapped.
Instead, fold down the edges of the pot down and make sure to fully cover them with soil and/or mulch. No exposed edge means no wicking. Problem solved. You can even go one step further and gently slit the side of the pot in one or two spots with a knife, just to make sure the roots can escape.

6. Extra water please
The first week after transplanting is really the most critical to establishing your new garden. During that time, adequate amounts of water are key to success. That means checking your plants often, and watering thoroughly each time the soil starts to dry out.
Remember that roots underground usually mirror the leaf growth on top. That means your little vegetable start’s roots are small and still only right around the stem at this stage of growth. While you want moist soil for the roots to expand into, in the meantime, the water has to get close to the plants for them to keep growing at this stage. You can reduce the frequency and depth of watering later once the plants have established themselves in the garden soil.
7. Mulch makes magic
Transplanting starts is the perfect time to put the first layer of mulch into the garden. After settling the plant in and giving it a good water, lay down mulch to hold that water in. Grass clippings, straw, shredded paper and well rotted compost are all great mulch choices for little transplants. Best of all, the mulch reduces the need to weed! (learn more about mulch here).
But the most important thing to remember when mulching small transplants is do NOT get the mulch too close to the stems. Make sure you leave a 1-2 inch gap around the stem. Why? Two reasons. 1) Mulch can both heat up and release gases that can harm tender young seedlings, causing them to burn, yellow or keel over, and 2) as stated in #6, water is critical in the first two weeks. If you mulch too close to the stem you may end up blocking and shielding the small plant from getting enough water. Mulch will hold the water in, but get your plants established with deep roots first, then you can mulch closer to the stem.
8. Don’t forget the flowers
No matter how big or how small your food garden is, make sure to plant some flowers right there with your veggies. Flowers help to attract and feed pollinators and natural insect predators. By putting the flowers right near your vegetables, you can promote better food production and end up with fewer pest problems all in one step.
Excellent flower choices include alyssum, marigold, calendula, creeping thyme, oregano, dill and other small flowered plants and herbs. The higher the biodiversity you create in your garden, the less work you have to do to keep things growing strong.
Watch a native bee checking out some kale flowers. (Source: Sue Senger, Rose Hill Farm)
9. Beat the heat
Even though working out in the sunshine can feel amazing, transplanting is best done in the cool of the evening, or better still, on a cloudy day. If you have hardened your plants off well (#1), then you have a lot more flexibility in the WHEN of transplanting. If you have any doubts at all, or if the forecast is for a scorcher, then give yourself and your plants a break by working in the coolest part of the day.
One important thing to remember if you do find yourself transplanting in the hot sun, is that plant roots start to die off fast in the sunlight. Roots grow in the dark. Sunlight is often “toxic” to roots and kills them fast in most food crops.
So while you are out planting, be sure to cover up the roots quickly and don’t leave trays of starts sitting out while you work. Work in small batches.
And be sure to check your seedlings in a few days as well. I can’t tell you how many times I have transplanted commercial starts, only to later discover the sprinkler washed off the topsoil and that tight root-ball is exposed and baking in the sun (also another reason to mulch #7).
Do You Know Other Hacks?
Drop a comment if you have other favorite transplanting hacks that could help the rest of us maximize our success this year. Transplanting is a garden skill, like any other, and the more you practice and learn from your mistakes, the better you become.
And if these tips would help a friend please hit the share button here to pass the post along.
Happy growing!
Want to start gardening but not sure how to begin? Check out the Get Started Garden Mini-course from Food Abundance Revolution. In just 30 days I will teach you the basic steps to creating a continuous supply of greens. It’s a fast, step-by-step plan for making your first little garden, regardless of your experience.


