I am going to keep this short today because I am nearing the end of a garden redesign and it is officially 15-June-2025 and I have not yet got anything planted in my main garden!?! Let me translate that for you. It means that it’s time to be seeding some corn, and my potatoes are not even planted yet. Yikes.
But this garden redesign has been long overdue.
My garden has been run in the same pattern for about 10 years and problems have been accumulating. Partly what’s gone on has been a series of injuries to me that have meant I used a LOT of shortcuts to get by. Those shortcuts led to insane lumps and valleys in the garden making moving the wheelbarrow around impossible, not to mention the constant stumbling and stepping awkwardly into holes.
So when I purchased my new Growboxx planters this year, it was the momentum necessary to bring a garden redesign and transformation into life.
Step 1 - Evaluate the mess
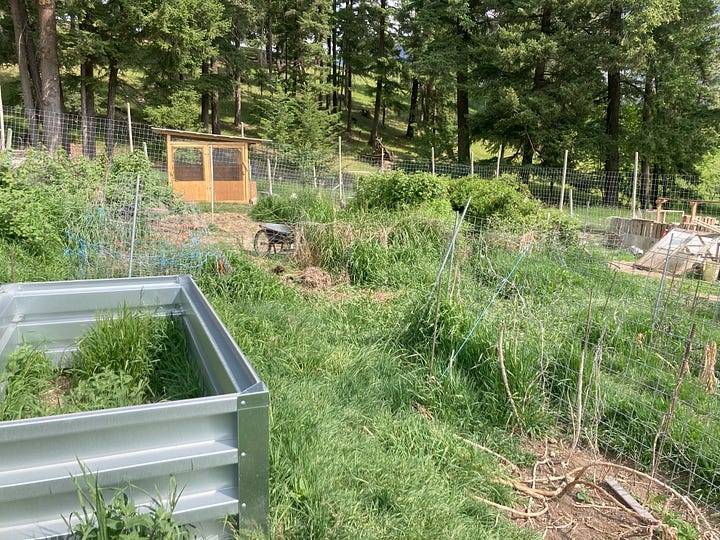
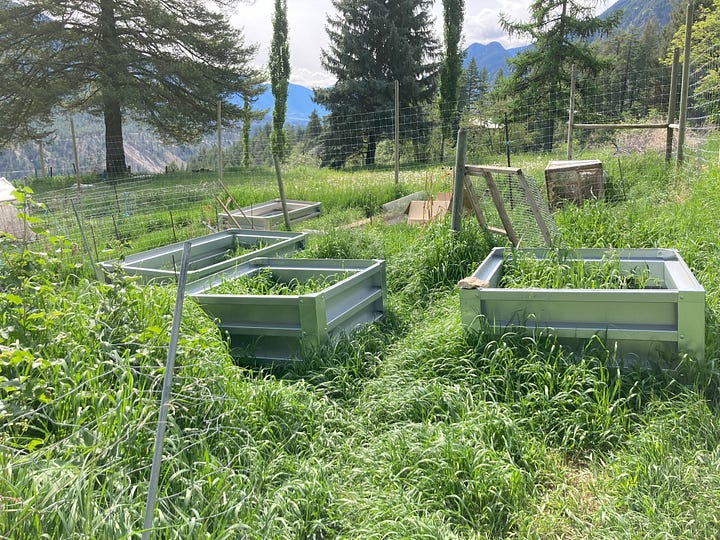
Essentially, grass has over-run my whole garden. This has been an ongoing battle since the start.
I like the idea of mow-able paths, but the reality is that the grass just takes over the beds and I am constantly having to re-dig and remove huge clumps of grass every year. As I carry off the grass, so goes the topsoil I have just worked so hard to create. One step forward with compost, and two steps back removing the lush grass clumps that have formed.
Secondly, the slope of my garden resulted in some precarious issues between the flattened beds and the raised path to the next bed.
Thirdly, because of physical limitations due to injury, I had just left clumps of weeds and grass in piles rather randomly, which eventually broke down, but which created a rollercoaster nightmare for walking and wheelbarrowing. Ooops. Whose idea was that? It saved me time and energy, but left a giant problem that only complete renovation can fix.
The Plan
Set the two big 4x8 raised beds up on the far right side of the garden.
Cut the grass and get the tractor in to help fill them.
Use the tractor to start the earth moving rearrangement of soil and to start breaking up the grass.
Remove the rest of the grass.
Rake for rocks and levelling.
Reset the beds and trellises.
PLANT!
Complete the redesign with a new rock or brick wall and a herb garden.
Step 2: Dive in
Setting the raised beds
Setting up the 4x8’s went fine. I’ve posted a few picture of this in last week’s newsletter on soil screening in case you missed it. I dug out where I wanted them by hand. I laid down hardware cloth in the hopes of deterring mice and voles from digging in from below.
I lined the bottoms with lots of paper from old feed bags and with cardboard. I threw in whatever sticks and unfinished compost I had. And then I used the tractor to bring in compost, which I screened for rocks.
These two beds got planted right away. One got transplants. The other was mostly directed seeded.
Removing the grass
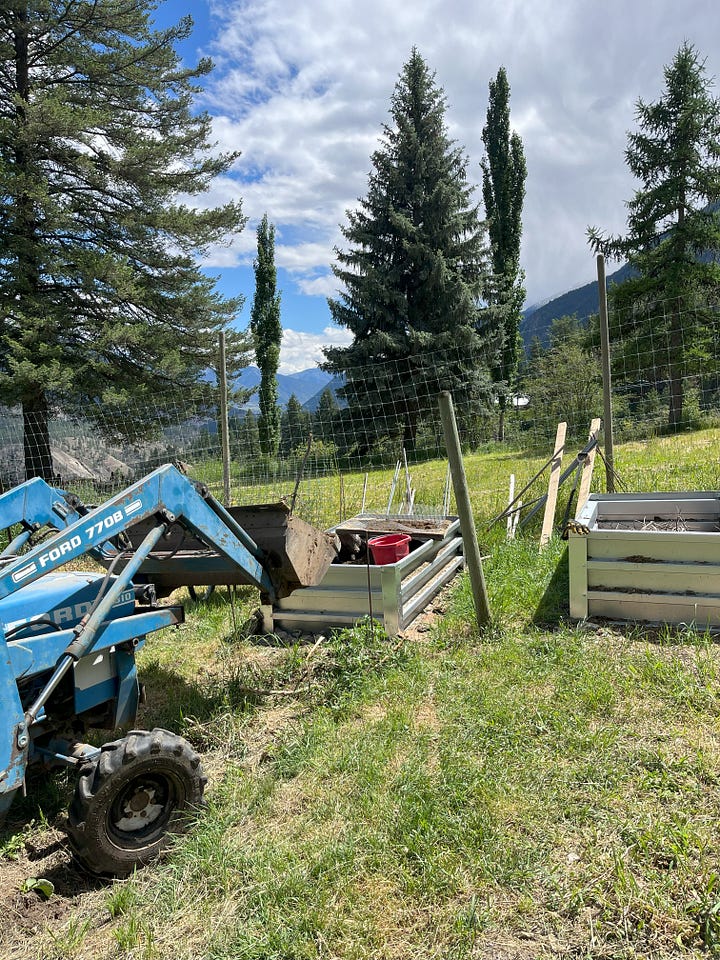
The tractor got some of the area turned up enough that I could pull out clumps of grass. I had planned to use a mini-tiller to do the rest, but the grass was too much for it, and it quit working.
Unfortunately for me, that meant hand-digging the rest area. To speed this up, I would go in and dig up grass clumps in a section and just turn them over. Then the following day when they were dryer, I would shake them out and toss the remaining grass/roots into a pile. I will use the tractor later to dump that pile into a few holes I have in the pasture where they can break down or grow.
The challenge has been that this took WAY longer than I expected because digging it all by hand is a really big job.
But I just worked in sections. Even huge tasks like hand digging half this area can be accomplished by just working systematically.
Rocks and Raking
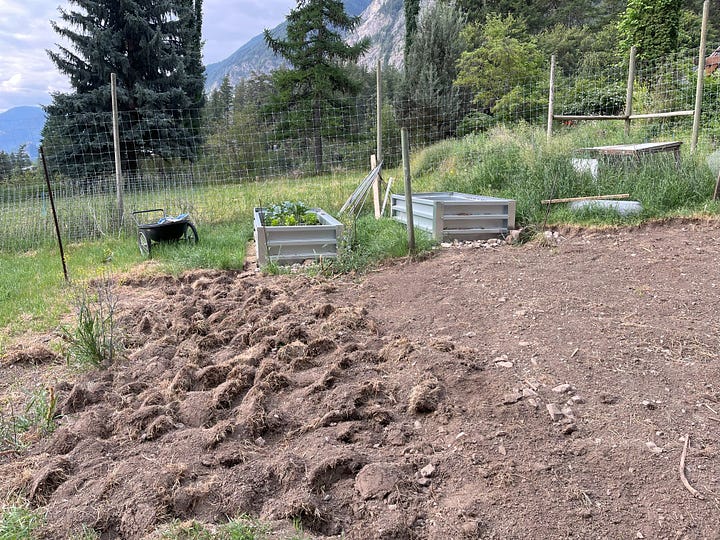
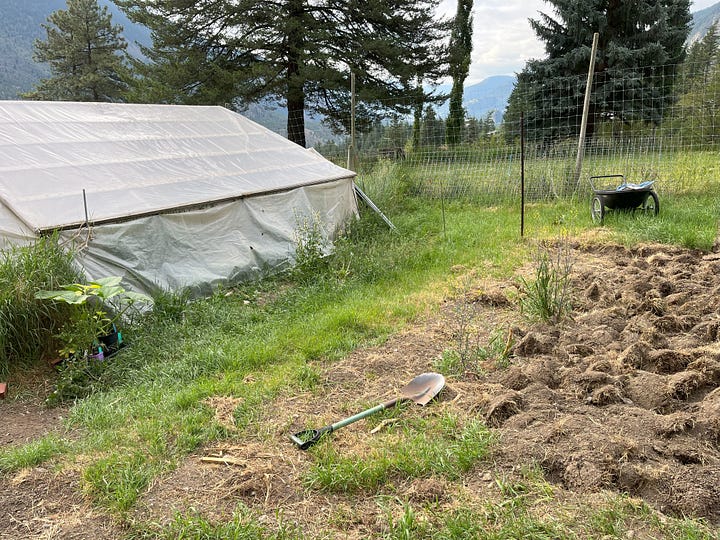
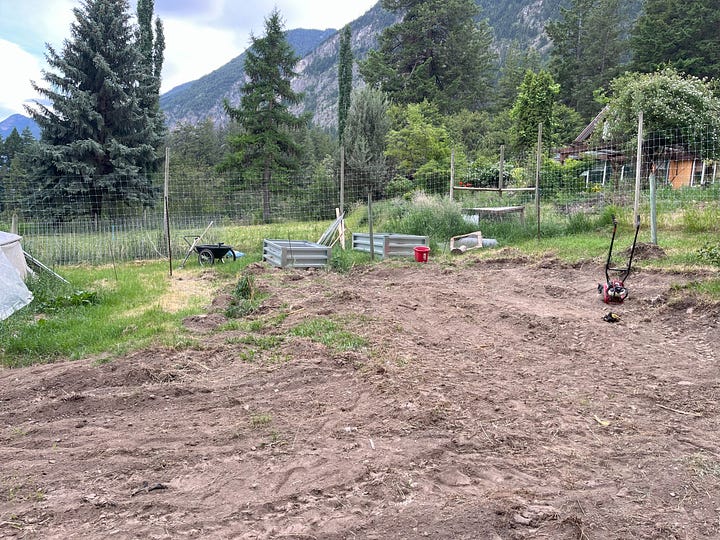
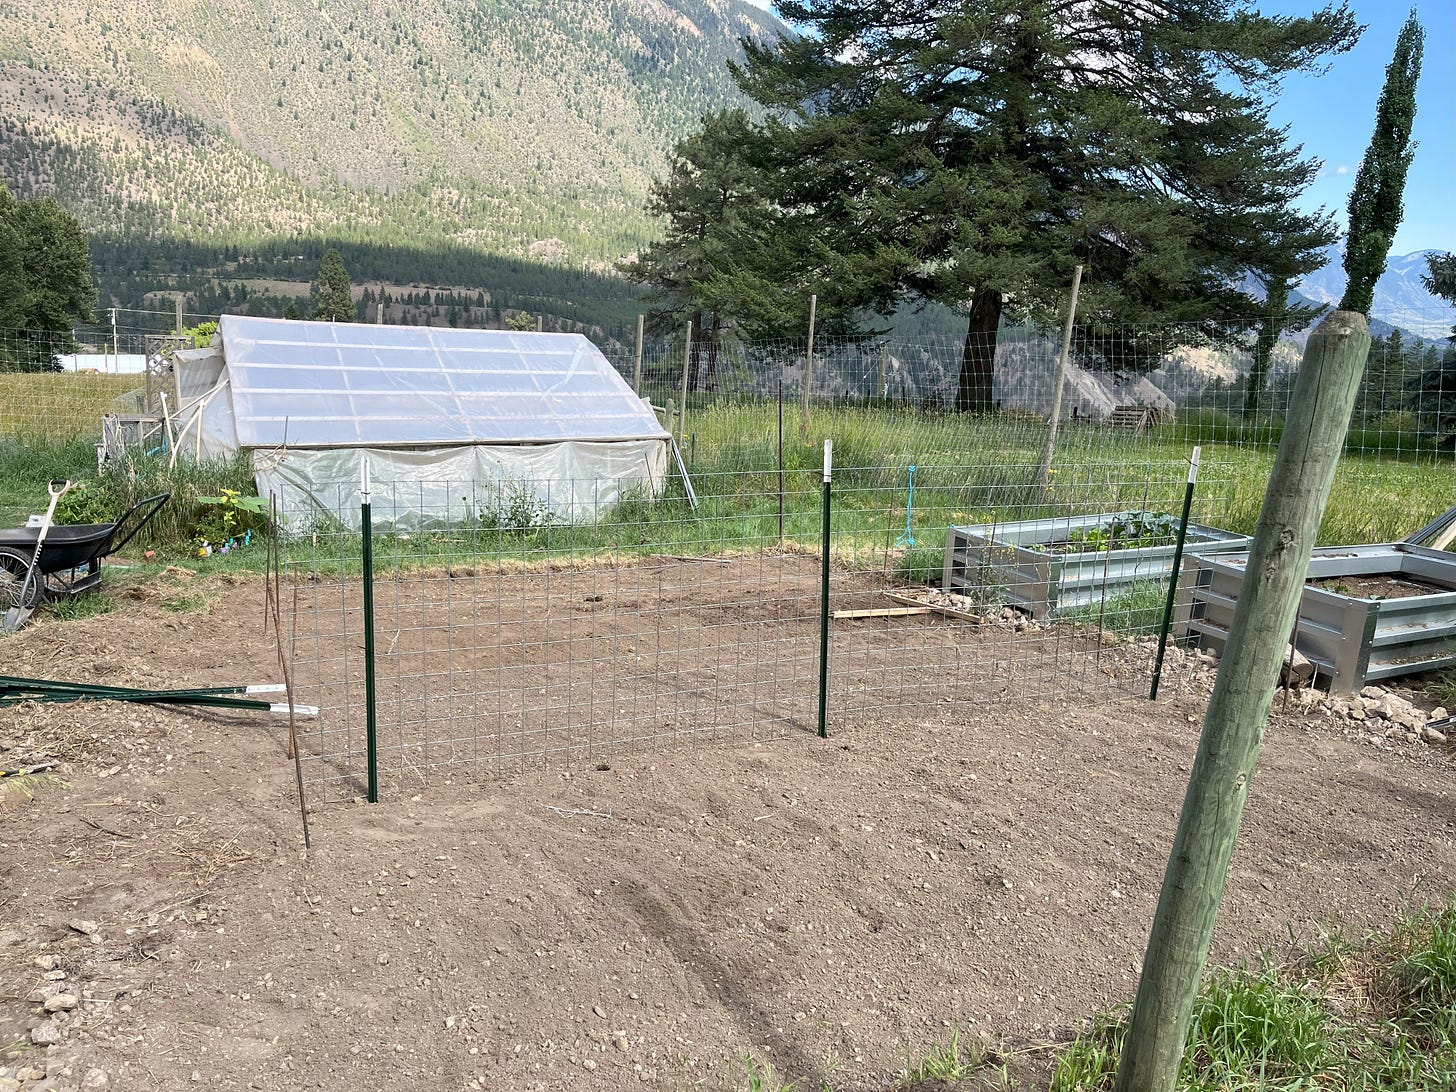
Once I got a large enough area turned over, I could see how bad the rock situation was. My area has channels of rock running through the field not that far below the surface. When I dug up the grass, I inevitably hit a lot of these rock channels and brought a lot of new rocks to the surface.
Luckily, a basic garden rake did a good job at picking the rocks out. That meant I did a few passes on each area with the rake: Once or twice or more to lift the rocks out, and then a finishing pass to help level and redistribute the soil.
Reset the trellises
FINALLY, with sections of the garden coming into completion, I was able to start laying my beds out again.
I like a 4 foot bed with a 4 foot path whenever possible. Of course my space isn’t quite that accommodating. But on average, this is what I am going for.
I use a combination of tape measures and marked 2x2 sticks to figure out the bed layout. One stick is 4 feet with each foot marked in black. The second is 3 feet and similarly marked.
My trellis panels are 16ft long. So I am laying in 4x16 ft beds to accommodate the 3 panels I have. This time I am using 3 T-posts to set the panels up and hold them securely. I had previously just used some rebar and ended up having to guy-wire them all over the place to stop them from falling over.
Today I get to plant!
So at long last today, I will set the last two trellis panels up and start transplanting my tomatoes into the garden at long last. They’ve been chugging along in the greenhouse and in pots all over the lawn, but they desperately need more root space and growing room! Poor things.
The joy will be an “instant” garden, since the plants will look like they’ve been growing there all along in no time. The downside is they should have been in the ground 2-3 weeks ago.
The frustration of a delayed garden will soon be forgotten by the ease of this new arrangement. You will see in the photographs there are still many things left to do. I will need to get rid of the grass around the new raised beds. I want to finish the slope break with bricks and an herb garden. I need to renovate my currant bushes. I haven’t decided where my new 4x4 raised beds belong. And so much more.
My garden had been serving it’s purpose for years. But doing a rather nuclear redesign means it will serve me even better in the next 10 years.
Sometimes re-imagining a space is what is needed. Which means, although I firmly advocate no-till, I also know there are times when you have to just start over to achieve the results you want.
Don’t be afraid to start (or start over) with your garden.
I will share the after pictures . . .when I get to after.
In the meantime, happy gardening.
The Naturalized Human is about reclaiming our health and wellness through a deep connection to our food and environment. I bring together the latest science with years of experience growing food to offer a path forward to resetting your life to something that feels natural and comfortable and whole. Don’t miss a letter by becoming a free or paid subscriber.




Thank you for sharing this. I appreciate reading about your process. We've just put up a greenhouse and are slowly starting to plan what plants to put where. I don't want a huge garden, just enough to be able to harvest a few things to contribute to meals.
There are, of course, plans for a small meadow garden to support pollinators and for beauty, because a garden shouldn't be only practical.
Reading about your adventures encourages me to simply start. Otherwise I get lost in the planning. Thank you.
Wow! What a project. Enjoy your fantastic progress!