Power-packed Microgreens at Home? Yes! (The Fast, Easy, Delicious Alternative to Gardening)
No space to garden is no longer a problem!
For generations, the only real way to grow food was to do it in the field. Glass cloches to protect individual plants weren’t invented until 1623. The first greenhouse heated with a woodstove came in around 1681. Large scale commercial greenhouse operations were developed later. My point is that the key to growing food was having space, often lots of it.
Today we have more options for growing some food that don’t require you to own an estate or be exceptionally wealthy: sprouting and microgreens. These two techniques let you get the benefit of eating green food while using little space, time or resources.
So here is the low-down on microgreens and how you can garden on a micro-scale
What is a microgreen?
A seed is a tiny little wonder of nature, packed with all the materials (and instructions) needed to grow into a mature plant. Just add water (and sometimes light and heat) and presto, those round little seeds swell up and burst open to generate new life.
Microgreens are nothing more than the tiny plants of your favorite foods gathered while they are still new and miniature. These tiny growing plants are nutrient dense because all of the goodness and energy is still within the parts of the plant that you are going to eat. They haven’t yet created extensive roots systems or stems or parts that will not be eaten when you harvest from the mature plants.
Sprouts vs Microgreens
Even though you can grow sprouts or microgreens from many of the same plants, the two names are not interchangeable.
Sprouts are seeds that are usually started in some kind of container, like a glass jar or a sprouting tray. The seeds are rinsed daily until they start to grow or sprout. Usually these sprouts are eaten as soon as the tiny plant is big enough to shed the seed coat. The seed coats float away during rinsing and are usually the only thing discarded when growing sprouts (except for ungerminated seeds). Sprouts are eaten whole, and can be used raw or cooked depending on the vegetable or grain in question.
Microgreens are seeds that are planted in trays that usually have soil or some kind of growing medium. The seeds are watered every one to three or four days (depends on the system), before they start to germinate and grow. These tiny plants produce roots in the soil and grow upright stems towards the light as they create leaves.
While some microgreens are harvested very tiny, with just the first few true leaves, others can be grown much taller into shoots for spring rolls, wraps and stir-fry. For example, broccoli and other brassicas are often harvested as very small microgreens, whereas peas and sunflowers can be grown into tall shoots.

Which seeds make the best microgreens?
Not all plant seeds are suitable for sprouting and microgreens.
Let’s start with sprouts. Some plants are simply better grown as sprouts than microgreens, particularly beans. Classic bean sprouts for Chinese food dishes are nothing more than sprouted mung beans. These are super-easy and fast to grow in a jar sprouter or tray on your kitchen counter. It only takes a few days to get those beautiful white sprouts that are ready to rinse and toss into your pan for egg-foo young or stirfry. There is no added benefit to growing beans as microgreens.
In other cases, tiny seeded plants like alfalfa are likewise much easier to do as sprouts without the complication of soil. It’s just faster to sprout and rinse them, and then use them up quickly rather than the extra steps of a soil system.
Try these microgreens
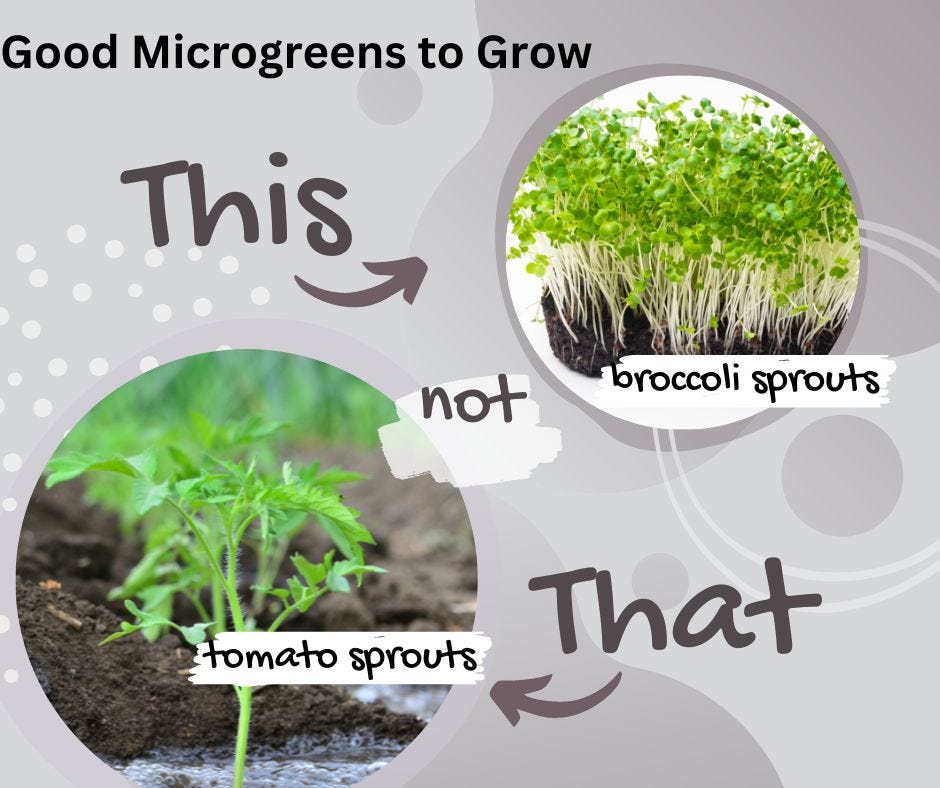
However, other tiny seeds like brassicas and basil are perfect for microgreens. That’s because the addition of a growing medium lets these plants get a bit longer, taller and leafier so they produce more food value while still taking up very little space.
Plants with edible stems and leaves are the best for microgreens. This includes most of the salad-type ingredients you are likely already familiar with such as mustards, kale, arugula (rocket), radish, beets, broccoli, brassica mixes and so on. There are also less ‘conventional’ plants that make great microgreens like sunflowers, peas, buckwheat, nasturtium and wheat (as in ‘wheatgrass’).
What may seem surprising is that lettuce is a challenging microgreen to grow! Lettuce just takes a long time to produce enough edible leaves compared to other faster producing microgreens. So in the world of microgreens and sprouts (where speed is part of the game), lettuce just doesn’t cut it. Try it and see. But to date my efforts to produce some winter leaf lettuce are usually stymied by the frustration of using up space and waiting so long.
But NEVER try these
Just remember that you are eating the whole plant when you grow sprouts or microgreens. That means you can never use plants that are toxic in your mix. Tomatoes, peppers, eggplant or other solenoid veggies are plants where we don’t eat the stems and leaves due to toxic compounds. These types of plants are not okay to include in your microgreens or sprouting adventures.
If in doubt, make sure you do your homework and find out if the plant is safe to eat. And always buy sprouting and microgreen seeds from reputable suppliers.

Finding Quality Microgreen Seeds
It best, especially when starting out, to buy from a reputable supplier and purchase seeds that are labelled specifically for sprouting or microgreens. But once you have an understanding of how to grow these tiny plants, it is quite safe to branch out.
Sadly most seeds labelled as sprouting seeds are ridiculously expensive. The truth is that there is no difference between sprouting seeds and the kind you buy to grow the mature vegetable EXCEPT that seeds for sprouting and microgreens have been handled and screened much more carefully to ensure they are safe to eat.
Because let’s face it, you are going to directly eat these tiny plants and that means any debris, contamination, treatment, or chemicals on the seed could be going onto your plate or into your mouth.
How can you reduce the costs of microgreen seeds?
Easy! Shop online for a good bulk seed supplier that carries organic seeds and mixes. My favorite supplier is Sprout Master (not an affiliate link) because they carry top quality organic seeds in bulk, and they ship fast. I can buy 500g to 1 kg of seed and save a LOT of money. Since you use just a tiny amount of seed per tray, this makes sprouting and microgreens very affordable.
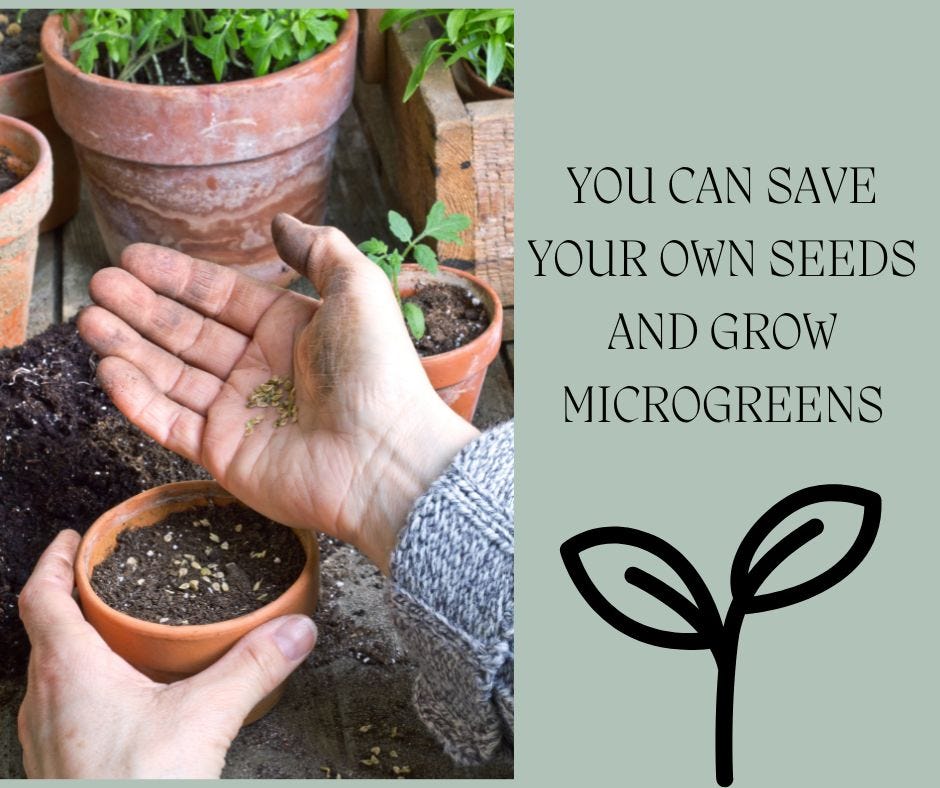
It’s also safe to use your own saved seeds to make sprouts and microgreens as long as:
You know the variety of plant you are growing has edible sprouts,
The seeds are free of weed seeds (which could be toxic, unless the weed is also an edible variety), and
You are sure the plants have been raised in a way that makes your seeds free of pesticides and herbicides (ideally raised organically in good soil).

Steps For Growing Microgreens
Getting started growing microgreens is fast and easy. Most people opt for shallow trays. These could be as simple as some aluminum food trays you buy for storing or baking at the grocery store, recycled shallow plastic containers, or something you buy off amazon specific for the job. Add 2-3 cm of good quality potting soil that is safe for raising vegetables in. Your local plant or hardware store should be able to recommend a brand.
The amount of seed you use depends on both the type of plant you are growing and the size of the tray. In a large planting tray, you typically need just 1 teaspoon of small seeds or 1 tablespoon of larger seeds to grow an entire matt of microgreens.
Sprinkle the seeds evenly over the soil surface. Then add just a light covering of potting soil over the seeds.
Pro Tip: Use a spare herb jar that has a top with holes to easily shake the seeds out over the tray quickly and evenly.
Water gently and evenly, making sure you don’t splash the seeds out in the process.
Place the tray somewhere warm and safe. Make sure you remember to check your seeds often and don’t let the surface dry out. A humidity dome placed over the tray can really help with this.
You don’t have to put the trays in sunlight or under lights until the plants start to grow. That means you can stash the starting trays somewhere else and only put the sprouted ones under light to grow and green-up.
When your tiny plants reach the height you desire, just use a pair of scissors and snip off the plants into a bowl. Rinse and enjoy!
I have grown microgreens for many years using a light table designed for plants, with heat mats, trays, and humidity domes. This works, but it does require constant attention. If you forget to check your trays and they dry out, that may mean no plants will grow. If you overwater and the room is too cold, you may end up with a moldy, sopping mess. It does take a bit of practice to hit your stride with microgreens.
Then last year, my sister and I both got the residential Urban Cultivator and wow, WHY did I wait so long? I will write more on this beautiful machine later, but for now – this is a home-sized, fully-automated grow unit! You can just plant your seeds, set the program and come back in a few days to perfect greens. For me, this unit has been worth every penny because it saves me so much time and frustration doing everything manually. And the quality of the greens is amazing.
Check it out for yourself at Urban Cultivator Residential (and this is an affiliate link - I am happy to promote a product that I love). I’ll write more about my success with the Urban Cultivator and share some photos in an upcoming newsletter.
Microgreens Give You Options For Reducing Your Food Costs
With the high cost of food, finding ways to reduce your grocery bill while still having access to incredibly nutritious food makes microgreens a winning strategy. You don’t need a yard, garden, or balcony. You can easily do this in your home using window sills, a plant grow table, or a done-for-you appliance like the Urban Cultivator.
There are affordable seeds available in bulk if you do a little searching on the internet. And if you do have some garden space, you can double-time that area to not only produce food in the summer, but seeds for winter greens as well using sprouting and microgreen techniques.
Even though I live on a small farm, I still grow microgreens to round out my food supply over the course of a year. When the sun is baking us in the summer (we experienced a heat dome in 2021!), growing microgreens inside provides fast salad fixings without the bitterness that the hot sun creates in these plants. And of course winters mean no outside growing at all here in Canada, which makes microgreens the perfect solution for a fresh pick-me-up.
The best part of microgreens is that you can give it a try for little cost and see if you like it. My favorites are brassica mixes, arugula, kale and sunflowers. Or for sprouts, I do love mung beans. Give it a go. You might just be creating a new life habit, AND seeing these beautiful tiny plants also boost your mood and wellbeing.
Microgreens are goodness inside and out! Plain and simple.
Don’t chance missing an upcoming newsletter. Subscribe using the link below.


